Configuring IIS (Windows 2012 Server |
  
|
Configuring IIS (Windows 2012 Server |
|
Prerequisites:
1.IIS must be installed on the server with specific sub-options.
2.If not installed, go to "My Computer", "Manage", then "Roles". Select "Web Server (IIS)" to install.
3.Make sure the following sub-options are selected before installing the Web Server:
4."WebDAV Publishing"
5."ISAPI Extensions"
6."Basic Authentication"
Configuration:
1.Go to "Administrator Tools"
2.Select "Information Information Services"
3.Click on the "[server name]" line.

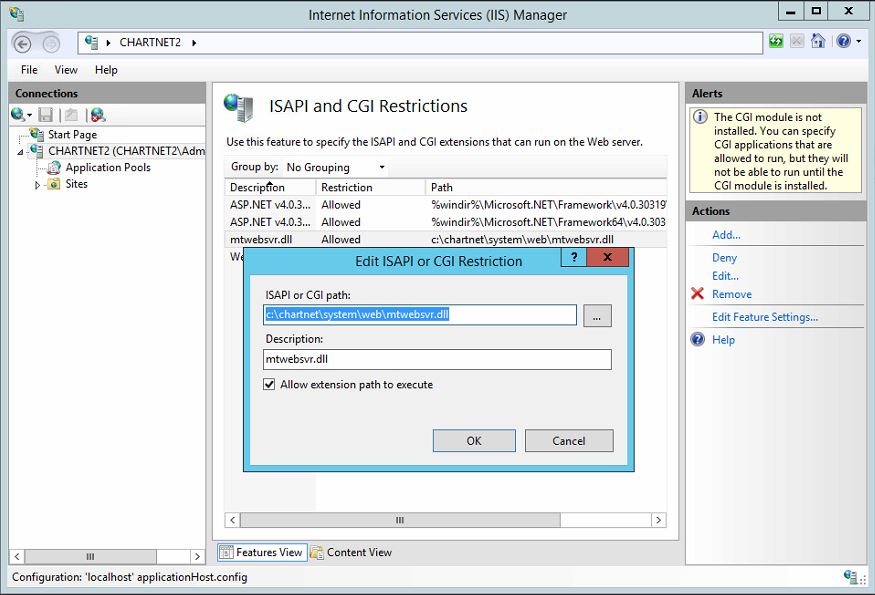
4.Click on "ISAPI and CGI Restrictions"
5.Add \\[server]\[share]\system\web\MTWEBSVR.DLL (if one server path should be local path, not server name)
6.Click on "Application Pools"
7.Add application pool, "chartnet".
8.Under Advanced Settings on chartnet app pool, set the "Identity" to "chartnet_apps"
9.Under Advanced Settings, set "Enable 32-bit Application" to TRUE
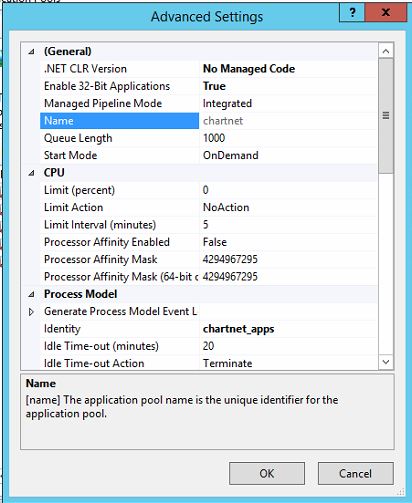
10.Under Basic Settings, set the ".Net Framework Version" to "No Managed Code" for chartnet application pool
11.Under Basic Settings, set the "Managed Pipeline Mode" to "Classic"
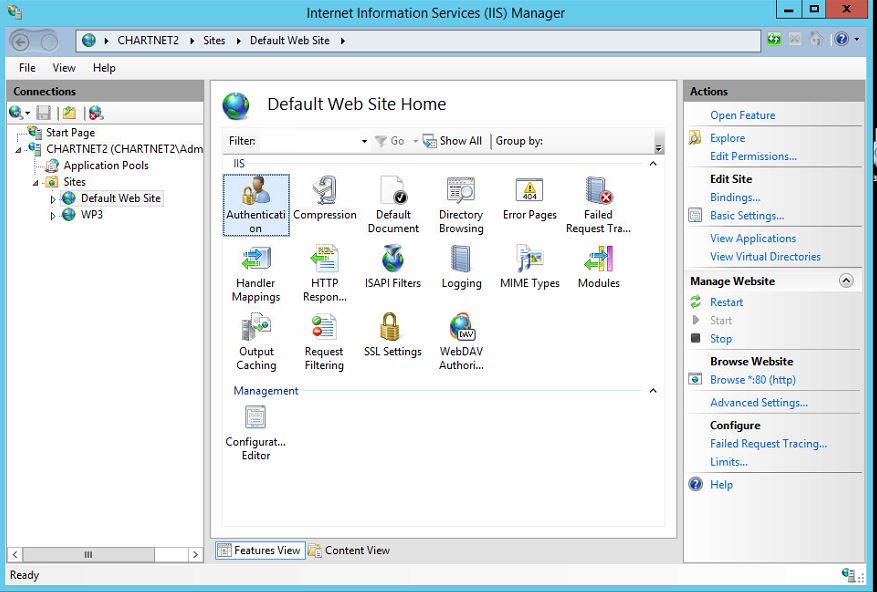
12.Click on "Default Web Site"
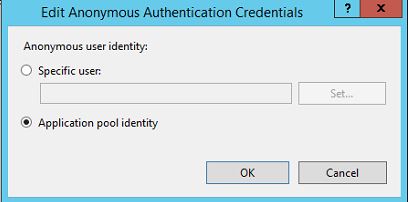
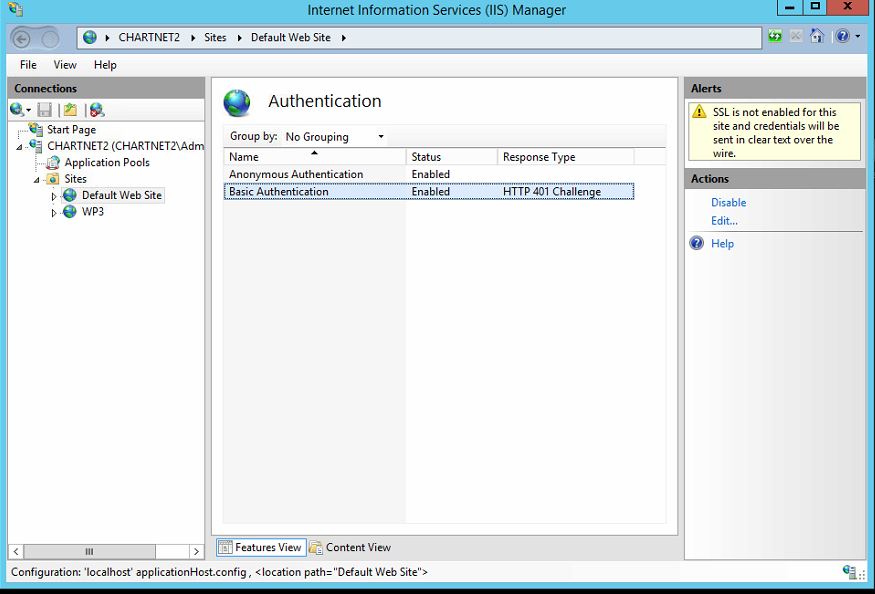
13.Click on "Authentication".
14.Set the "Anonymous Authentication" to "Application Pool Identity"
15.Enable "Basic Authentication"
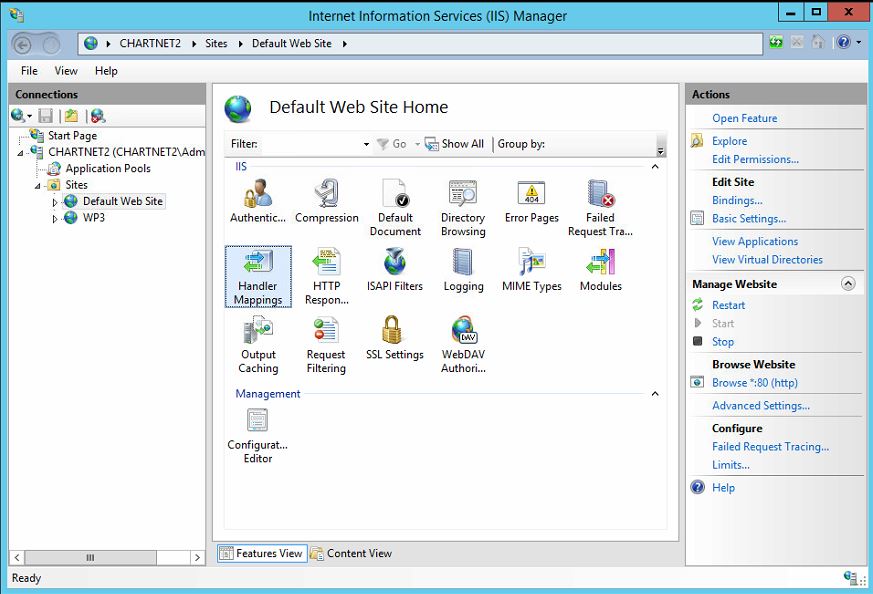
16.Click on "Handler Mapping". Make sure "ISAPI-dll" is listed and enabled. If not enabled, then right-click and select "Edit Feature Permissions". Make sure "Execute" is checked.
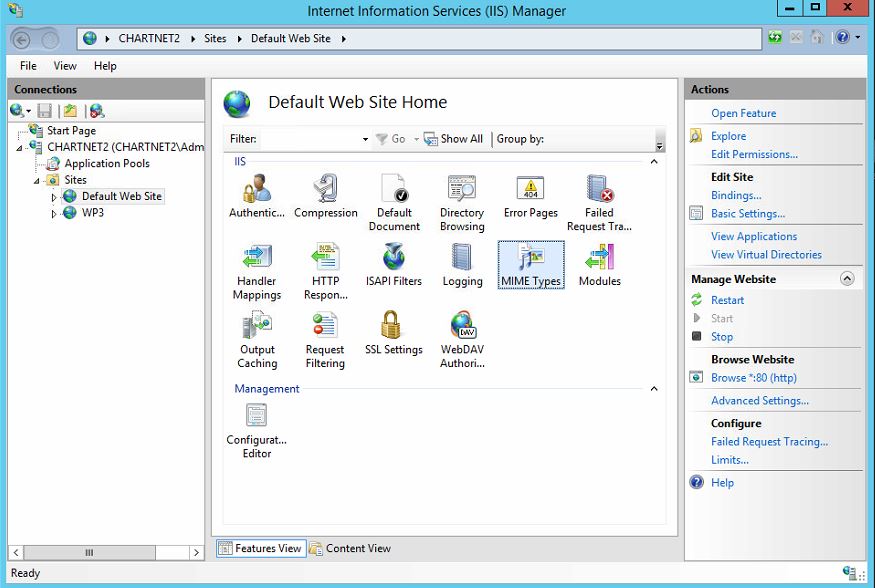
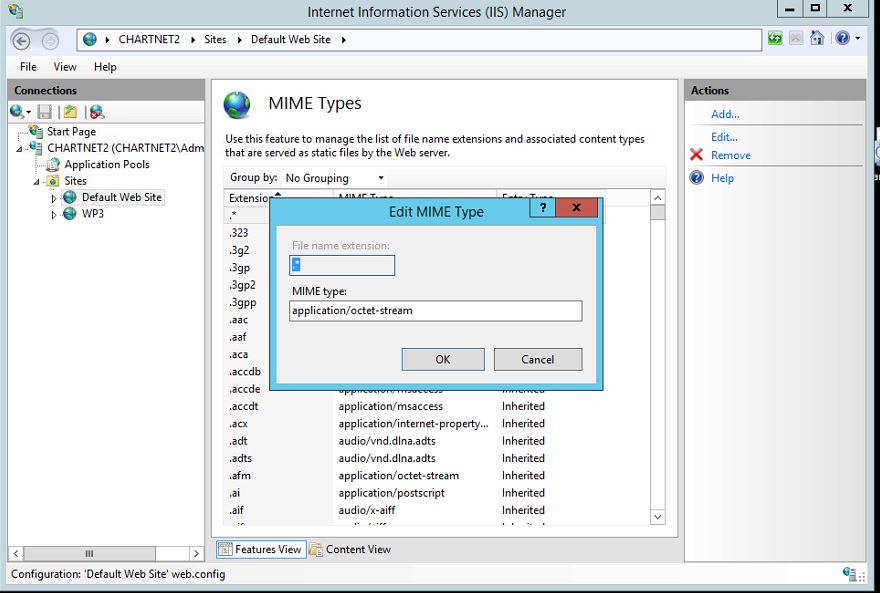
17.Click on "Mime Types". Add a new Mime type. Set "File Extension" to ".*" Set the "MIME Type" to "application/octet-stream"
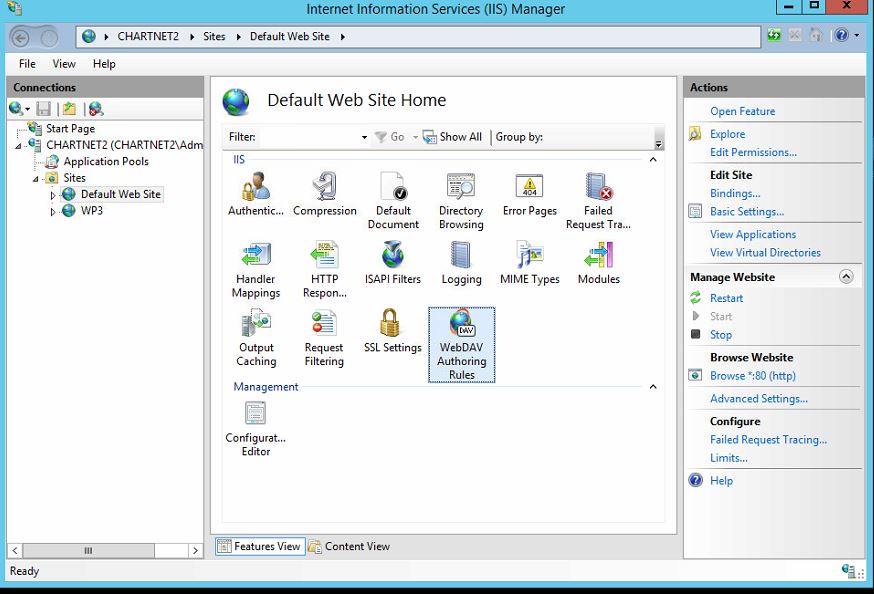
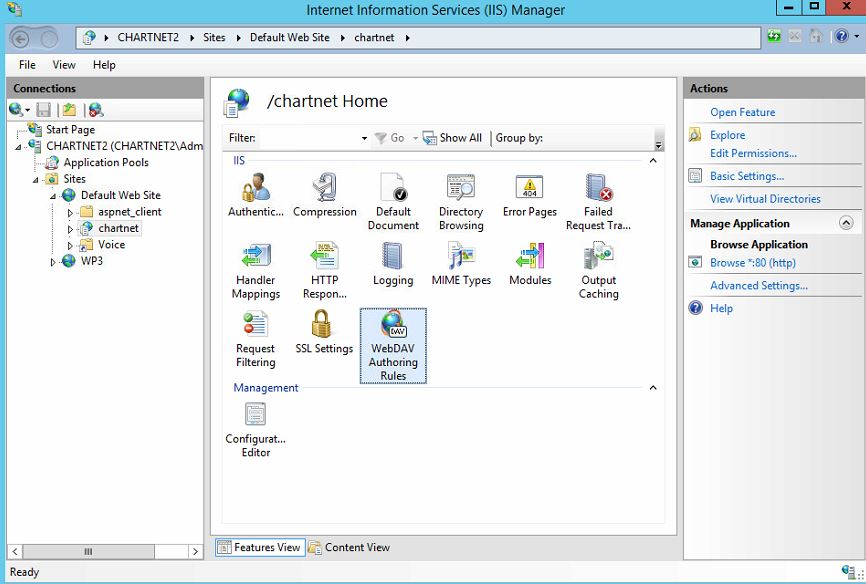
18.Click on "WebDAV Authoring Rules". Click on "Enable WebDAV". (Failure to do this will result in "Method not Allowed" errors)
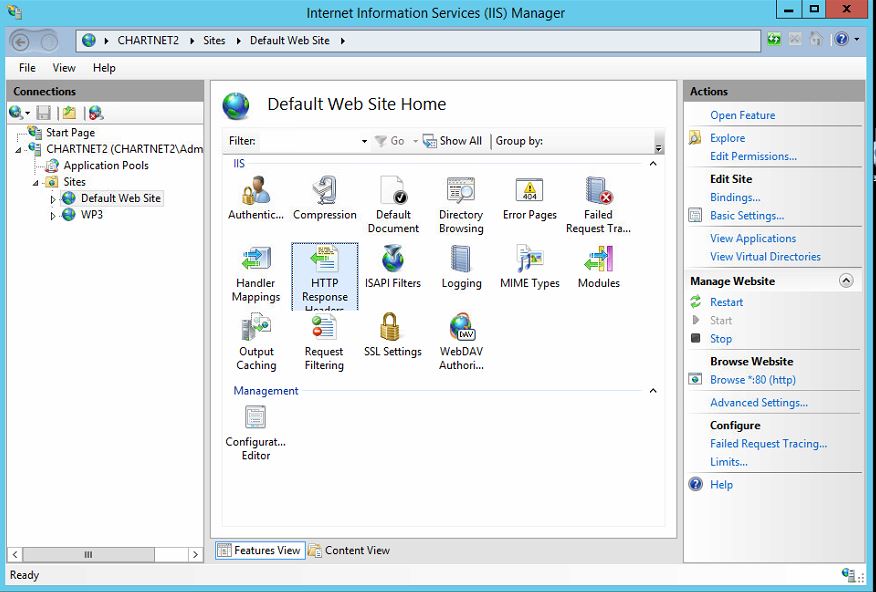
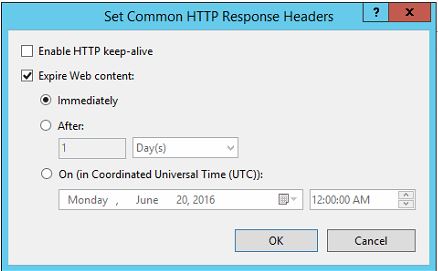
19. Click on HTTP Response Headers. Set Common Headers, Check box to Expire Web Content Immediately.
20.Right click on "Default Web Site" and select "Add Application".
21.Add the "chartnet" application.
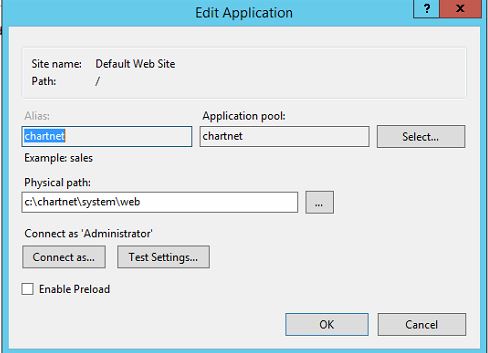
22.Click on "Advanced Settings"
23.Set the "Application Pool" to "chartnet"
24.Set the "Physical Path" to "[root]\system\web".
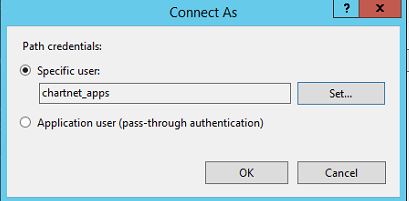
25.Set the "Physical Path Credentials" to "chartnet_apps"
26.Click on "Handler Mappings"

27.Check the settings for the "ISAPI-DLL"
a.Request Path = *.dll
b. Module = IsapiModule
c. Name = Isapi-dll
d. Request Restrictions
e. Mapping = File

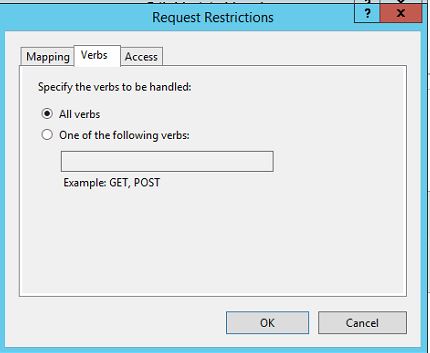
f. Verbs = All Verbs
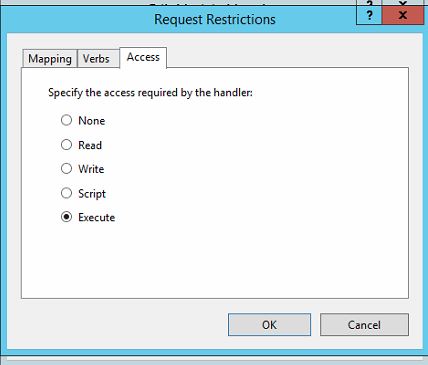
g. Access = Execute
28. Check the settings for "WebDAV"
a. Request Path = *
b. Module = WebDavModule
c. Executable = [null]
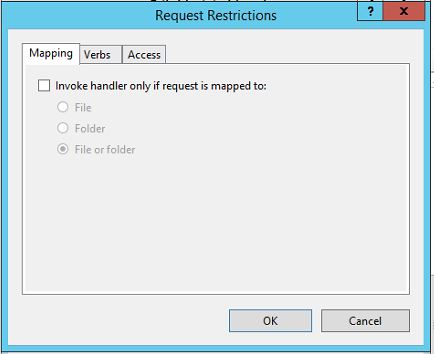
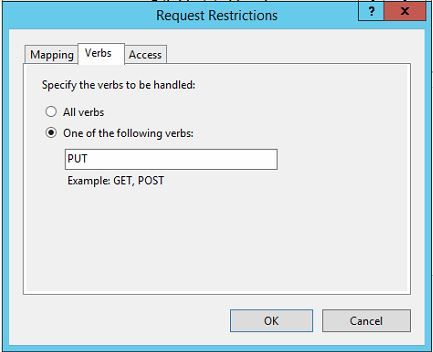
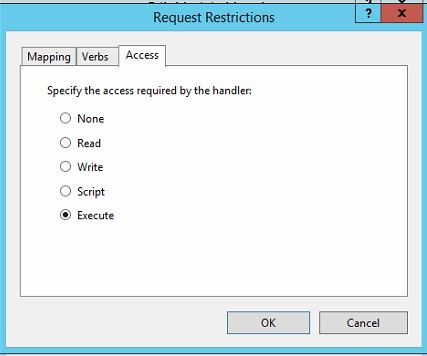
d. Request Restrictions
e. Mapping = Blank
f. Verbs = PUT
g. Access = Execute
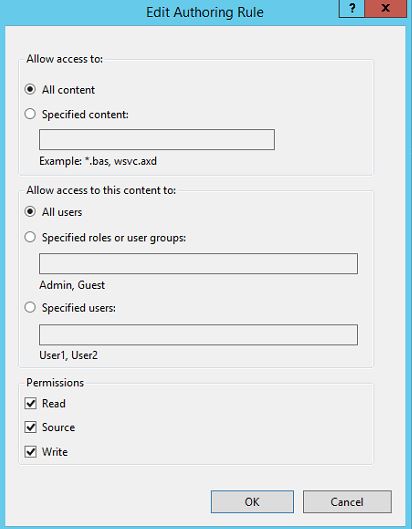
29.Click on "WebDAV Authoring Rules"
30.Right-click and select "Add Authoring Rule"
31.Set to "All Content", "All Users", "Read, Source, Write"
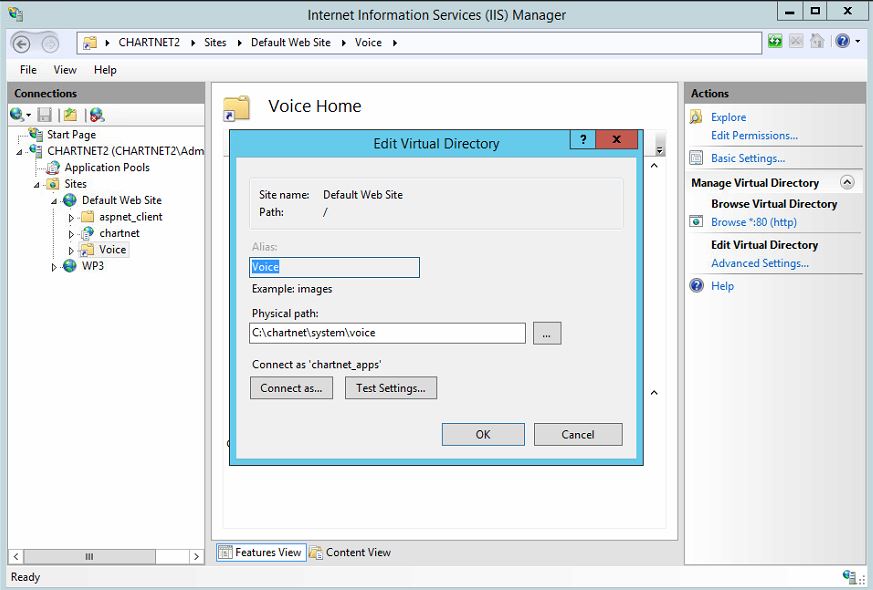
32.Right click on "Default Web Site" and select "Add Virtual Directory"
33.Add the "Voice" virtual directory.
34.Set the "Physical path" to "[root]\system\voice