F1 Function in the RDS |
  
|
F1 Function in the RDS |
|
When verifying or adding information to the data fields in the Report Data Screen (RDS), place your cursor in a field denoted with the shortcut (F1) following the field description. Using F1 will open a table from which you may select the correct information to populate the field.
Steps to Open a Table in the RDS (F1) |
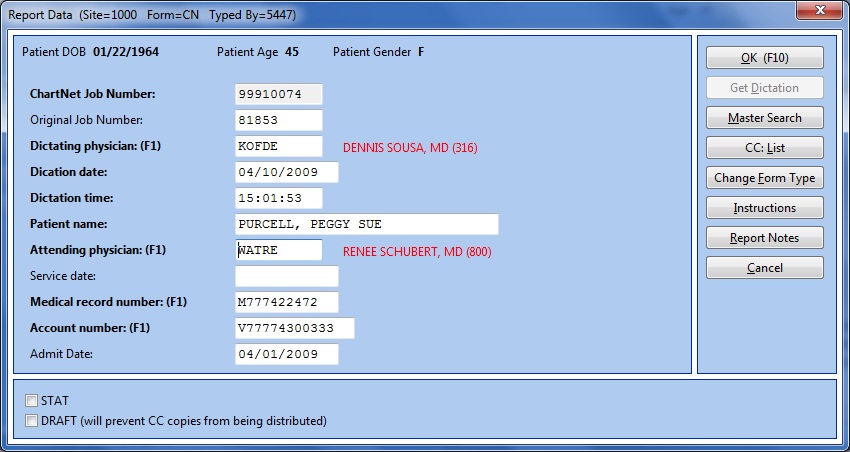
1.Place your cursor in a field with (F1) preceding the field description, such as the field Attending physician (F1) in the example below.
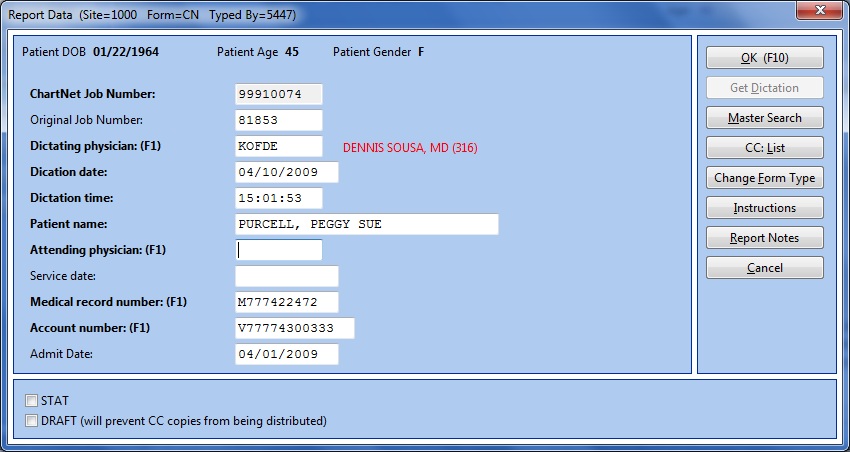
CNE and AME: Place your cursor in a field denoted by F1, such as Attending Physician
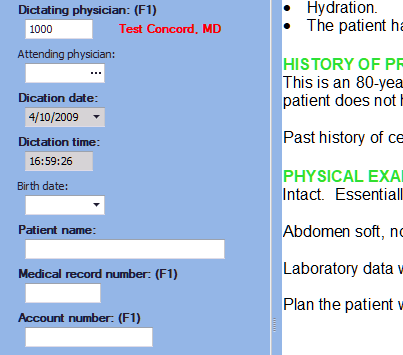
Concord: Place your cursor in a field denoted by F1, such as Account Number.
2.Press F1. A new window will appear from which you may select the correct information to populate the field. In the example below, the Provider Lookup table appears after pressing F1.
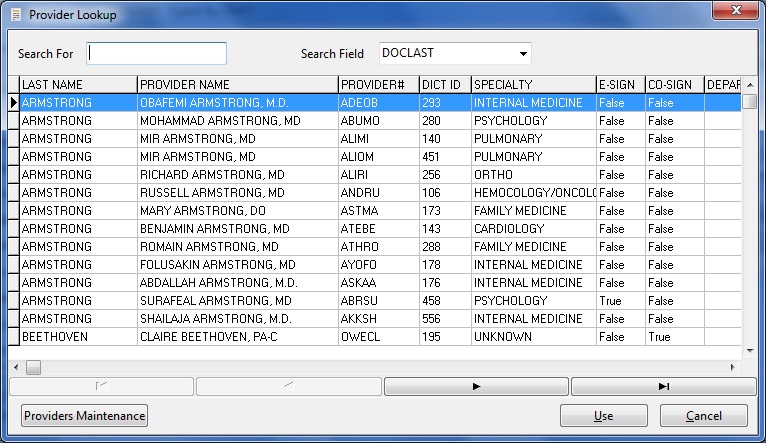
Use F1 to open the Provider Lookup table from the Attending physician field
3.Locate the correct information from the table. You may want to use the Search field. Once you have found the correct information, click Use or press ENTER to add your selection to the Report Data Screen.
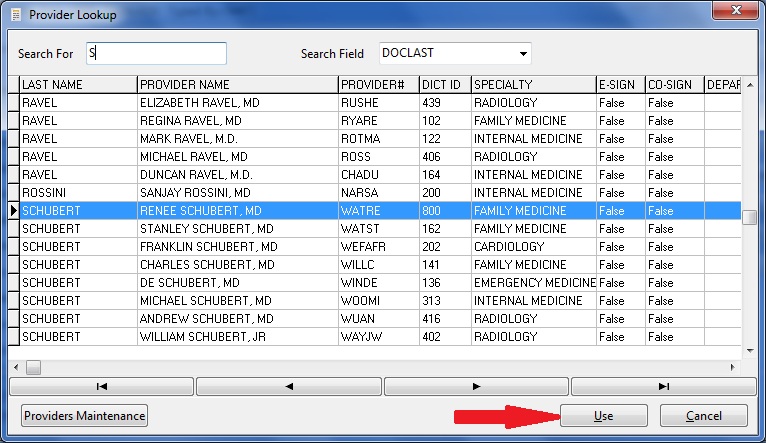
Click Use or press ENTER to add your selection to the Report Data Screen
4.You will return to the Report Data Screen. Note your field is now populated with the information you selected. In the example below, the attending physician's provider ID WATRE populates the Attending physician field, while the full name of the attending physician appears to the right.
The table selection WEFAFR now appears in the Report Data Screen
5.Always remember to use the shortcut F1 to ensure accuracy and consistency when completing the Report Data Screen. Once the Report Data Screen is complete, For ChartNet or AME, press OK, ALT+O, or use the shortcut F10 to save and return to your job. For Concord, the RDS will automatically be saved when you Save the Document or you can click on "Apply RDS".
6.
ChartNet and M*Modal Editor RDS screen
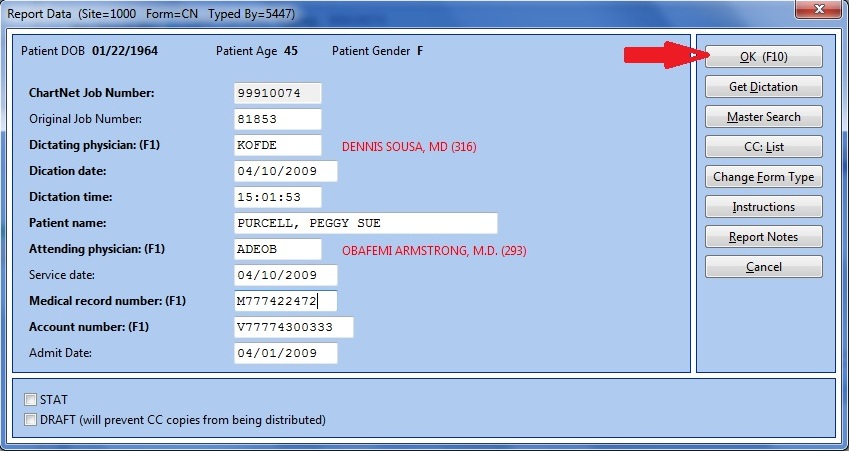
For ChartNet and AME, Click OK, ALT+O, or use the shortcut F10 to save the Report Data Screen and return to your job
Concord RDS screen
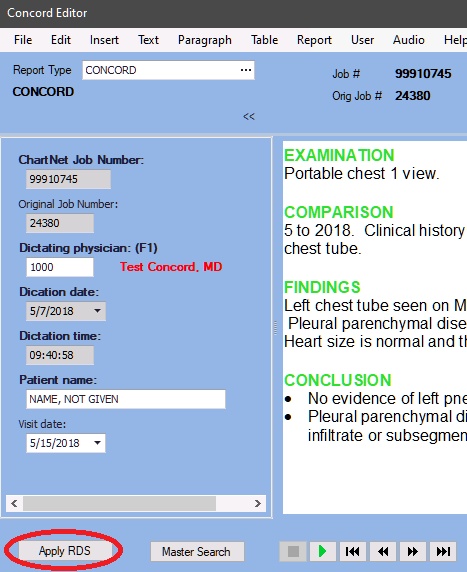
For Concord, Click "Apply RDS" save the Report Data Screen.
The RDS will also be saved when you save you document as well.