Installing the ChartNet Client Console |
  
|
Installing the ChartNet Client Console |
|
|
The ChartNet Client Console is a simple web-based installation. ChartNet runs on most Microsoft-based operating systems and has few hardware requirements.
Note that there are additional installation steps required when installing ChartNet on Microsoft Vista or connecting to ChartNet over a VPN.
Before installing ChartNet, make certain you have the following:
•Valid Login ID and Password •ChartNet Database URL •Site Code, if required |
Steps to Install ChartNet: |
1.Open a web browser and navigate to www.chartnettech.com.
2.Click on Log In and enter the user name and password that was given to you by ChartNet Support.
3.Under the topic Downloads, click on ChartNet Web Installer (v5.50).
|
Click on ChartNet Web Installer from the Hudson Medical Website
3.Click on Run and follow the installation prompts.
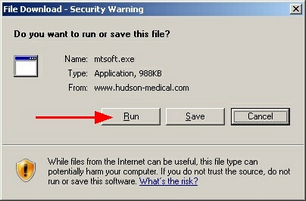
Click on Run when prompted
4.Once installation is complete, locate the ChartNet shortcut which has installed on your desktop. Open ChartNet by double-clicking on the desktop shortcut.
5.The ChartNet Login will appear. Before logging in, you must configure your Host URL.
6.After configuring your URL, you will be able to Login to ChartNet.
7.The ChartNet software installer window will appear and will begin downloading files.
8.After the download completes, the ChartNet Client will launch and begin to register its required components.
9.When finished, the ChartNet Transcription Client will show Ready in the bottom status bar. You are now ready to begin using ChartNet!
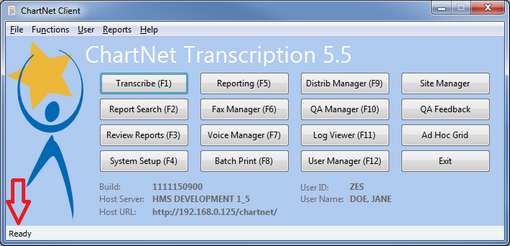
Ready will display on the Status Bar when installation is complete